I've been thinking about Network Infrastructure and disaster recovery. Here are all these networked computers, but what happens when disaster strikes? What happens when one of these devices dies?
In "6 Backup Server Solutions for Your Business," I mentioned that Datto's backup solutions offer wonderful abilities. Datto can virtualize a backup into a fully functioning computer. Most often, Managed Service Providers (MSPs) will do this as part of disaster recovery. A server dies (whether by malware run amuck, a wrath-of-God weather event, or even natural causes from old age), and an MSP can spin up a virtual machine (VM) of this exact server from the most recent Datto backup. And this VM functions just like the dearly departed server. It hosts websites, databases, Active Directory, etc. For all practical purposes, this VM functions as the server until a replacement server is purchased, restored, and brought online.
Sure, MPSs can do this, but could we? Could we create a backup and spin it into a VM? That's far too cool not to try! Alright, so we aren't going to use a standard backup, nor even a system image. Instead, we are going to create a VM version of a physical machine. But for all practical purposes, this is a fully functioning backup of this computer. And we can then go and run this entire computer entirely on another one. But to make this happen, we are going to need a couple of computers, a flash drive, and two pieces of software.
Requirements for this System
For this experiment, we are going to need the following five items:
- A first computer using a relatively small amount of data
- A flash drive that has a larger capacity than this first computer's usage
- A copy of VMware vCenter Converter Standalone 6.2 on this first computer
- A second computer that has an even larger capacity than the flash drive
- A copy of VMware Workstation 16 Player on this second computer
Alright, let's break all of this down. While this isn't a lot of items, there are some specifications here that should be fleshed out.
First, we need our initial computer. This device is the one that we want to virtualize. To do this conversion, all of this computer's software—including the entire operating system—will need to be small enough to fit on the flash drive. For this requirement, I'm going to use my Dell Latitude 7370. Right now, this laptop is using only 46.1 GB (of its 128 GB SSD).
Second, we need a relatively large flash drive. Since I have 46.1 GB of data I need to virtualize, I am going to need a flash drive that is at least 64 GB.[1] Notice that the flash drive I am using is half the size of this laptop's hard drive. All we care about for the VM is the data usage of the target computer and the data capacity of the flash drive. By the way, I want to highly recommend that you go for a flash drive rated 3.1 or above. We are going to be transferring a LOT of data, so a fast drive will make this go a LOT quicker.

Third, to get all my data copied to the flash drive in a form that I can virtualize, we need some software. In this case, I am going to use the vCenter Converter. Download this free software from VMware's website and install it on the first computer. While vCenter Converter is free, VMware does require users to create an account to download it.
Fourth, we need a second computer.[2] This host computer, like the flash drive, is going to have to have more capacity than the first computer's entire data. But it will need to be even larger than this. A flash drive just needs to transport this data. The second computer needs to use it. As such, it needs additional space to run the software that runs the VMs, which is known as a hypervisor. And, of course, this second computer has to have its operating system and software. For this, I am going to turn to my desktop—a desktop of Theseus built before my time. This computer has a 256 GB SSD, which will be plenty for our purposes.
Fifth, I am going to need that aforementioned hypervisor. As we talked about in "How to Set up Our Very Own Virtual Server," there are many hypervisors available. However, to ensure compatibility with VMware's vCenter Converter, we are going to opt for VMware's Workstation Player. Unlike vCenter Converter, this software is free only for non-commercial usage. So, we'll sign into our VMware account, but this time on the other computer, and download Workstation Player.
Fired up? Ready to go!
Part I: Virtualizing a Computer
Now that we have all the pieces let's make this happen. Here are the steps to take our first computer and virtualize it onto the flash drive:
- Double click the VMWare vCenter Converter shortcut icon on the desktop of the first computer.
- Click Convert machine just beneath the menu bar in the upper left.
- Check that the Select source type is set to Powered on and the drop-down menu has This local machine (the default settings).
- Click Next >.
- Check that the Select destination type is VMware Workstation and that Select VMware product is VMware Workstation 11.x/12.x (the default settings).
- Change the Name of this computer (optional).
- Insert the flash drive into the first computer.
- Click Browse to change the Select a location for the virtual machine to the flash drive.
- Click Next >.
- Click Next > (as the defaults here are perfect for our purposes in this guide).
- Click Finish.
After the vCenter Converter finishes the conversion, you know have a virtualized version of this computer.
Part II: Spinning up that Computer
Believe it or not, you've already done the hard part. This next part is super simple. We are going to get the VM onto the second computer.
- Eject the flash drive from the first computer.
- Insert the flash drive into the second computer.
- Copy the VM file folder from the flash drive to the second computer (optional).
- Double click the VMware Workstation Player shortcut icon on the desktop of the second computer.
- Click Open a Virtual Machine.
- Navigate to the VM file either on the second computer or on the flash drive.
- Click Open.
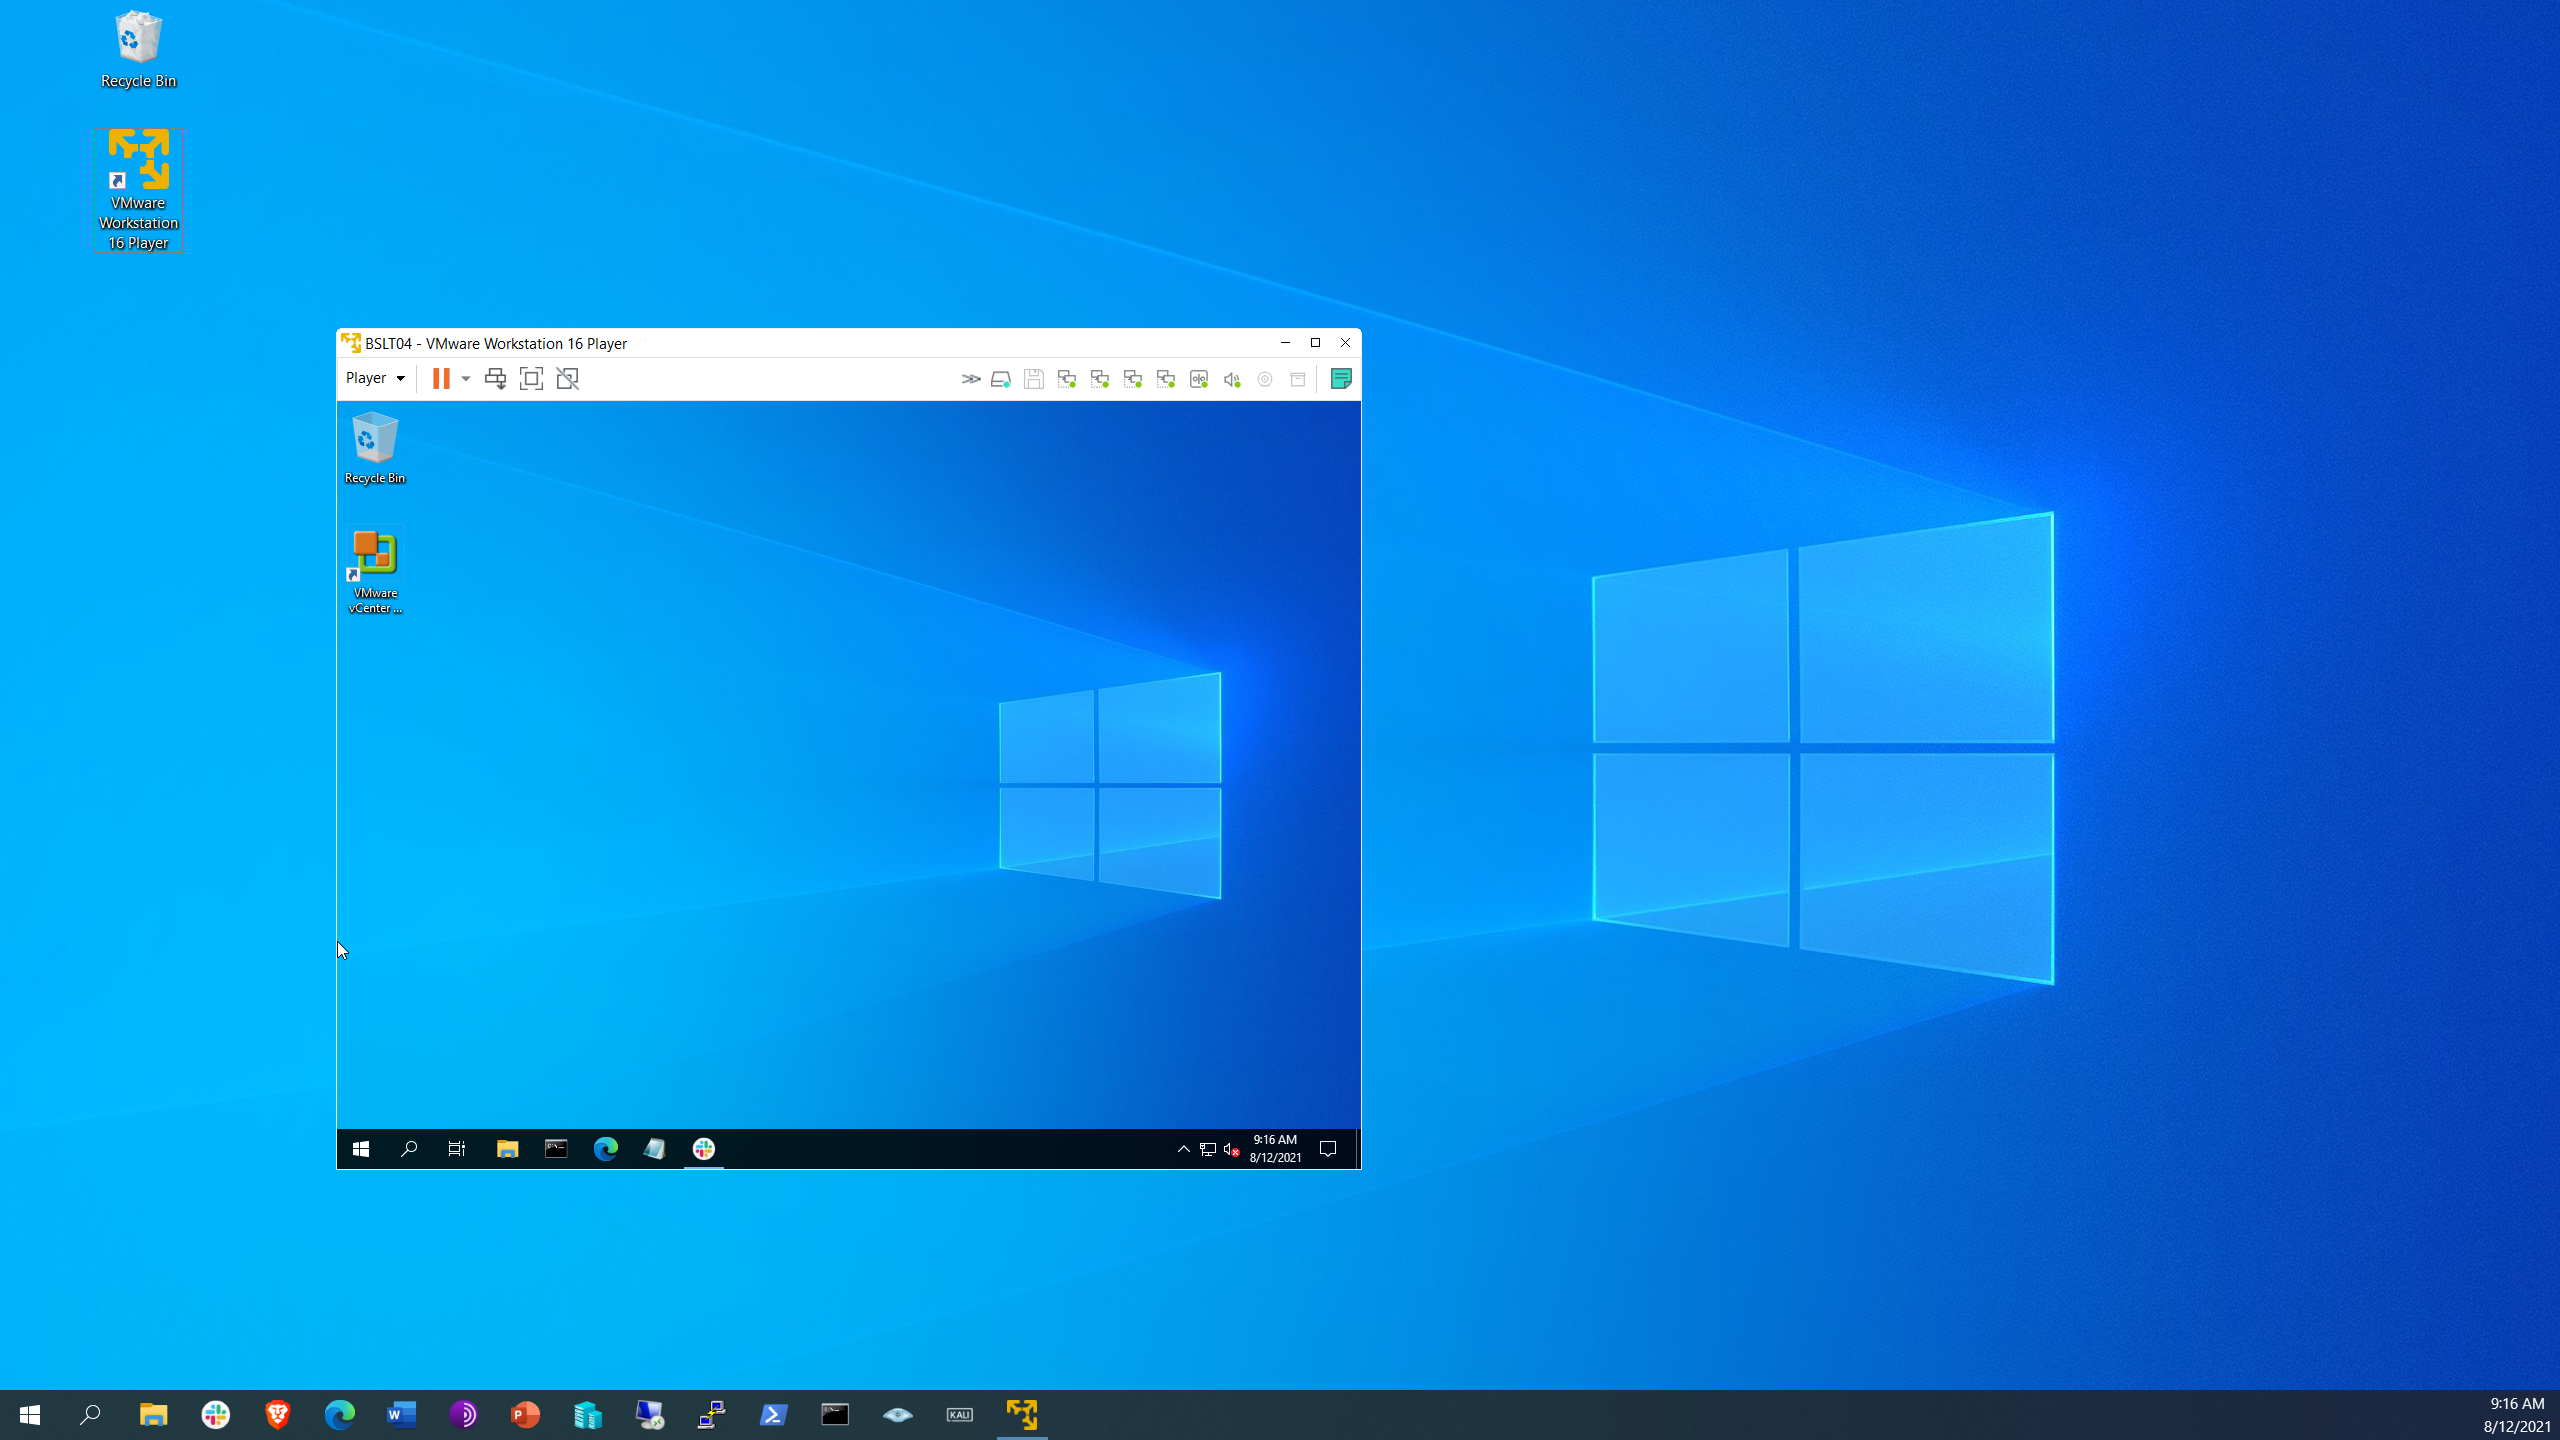
At this point, a window should pop up. It will initially say VMWare, which is acting as the BIOS for this VM.
And then your VM will boot up.
By the way, it is completely normal if the VM takes a while to initially load. This first computer is quickly realizing that it's no longer in its previous form as a physical computer. It needs a few moments to adapt to its new life as a VM. It is testing out its new form and determining what drivers it needs to utilize. However, once it gets through this—and probably reboots—it will be good to go.
Conclusion: Taking a Backup out for a Spin
You did it! You have backed up one of your computers, and you have spun up this back up into a fully functioning VM on another machine. If your first computer was to die now, you would have an exact, usable replica that would live on as a VM. All the data, all the settings. It is that computer just in a new form.
Is this a viable backup option? Probably not. While none of this is particularly difficult, there are some serious concerns:
- This process was time-consuming, taking hours to create one VM.
- This process has to be manually run each time we want to create a more current VM.
- This process uses a LOT of storage space for each VM
- This process turns a computer into a VM—but doesn’t offer a way to reverse the process.
As such, let's leave backups to professional MSPs with Datto. Companies like NexgenTec can create any number of real backups of any number of computers—as often as every 15 minutes. We create the backups and we test these to ensure that they can be used for restoring physical machines or even creating virtualized versions. And these backups can be archived effectively indefinitely. Let us handle your backups.
[1] By the way, "64 GB" ends up being 57.7 of usable space in this case. This amount is more than I need but less than I would have expected.
[2] Technically, we could do all of this on one device. We could take a computer, virtualize it with vCenter Converter, and then spin up a VM of this very computer on itself with VMware Workstation. But why would we want to spin up a VM of the same computer that we are already on?